The most common question we at BeanBurds receive from our coffee loving family is how to create latte art at home. And we are here to tell you that even though your first few tries may not have come out right, you don’t need to give up. With a little bit of practice, understanding the technique and learning a few tips and tricks, you can now transform your cup of joe into a piece of art. You don’t even need to play around with milk and coffee or waste them to practise, we have an interesting trick for that as well, at the end of this article.
5 Steps To Getting A Perfect Beginner's Latte Art:
- Getting the milk texture right is the first and most important aspect of getting your latte art right. Make sure to check out our previous blog where we have listed 5 easy steps to texture your milk right and 5 tips & tricks to get better results. Read blog here.
- Place your pitcher at a height of about 5cms when starting to pour. While pouring milk into your espresso, focus on the tilt of your cup and pitcher and ensure there is a steady stream of milk.
- Tilt coffee cup as you pour a pencil-thin stream of milk into the centre of the espresso. When the cup is half full and the espresso and milk have mixed evenly, lower the pitcher closer to the cup and speed up your pour to get the foam out with a wider stream of milk flowing to create the contrast.
- When the foam falls, focus on the middle till you create a visible dot.
- When you reach the surface of the cup, slowly tilt the pitcher back and pull a stream of milk in a quick straight line through the centre. You now have a heart shaped latte art ready.

5 Tips & Tricks To Get Better At Latte Art:
- Use a wider coffee cup so you have more room to create the design. Shop coffee drink-ware here.
- Have an idea of what you want to create before starting so you can move your hands accordingly. Start with very simple designs that does not require any wiggling so you can simply focus on controlling the speed, angles and heights from which you pour.
- Make sure to pour the milk immediately after texture so it doesn’t separate. Pouring the milk too slowly also causes milk to separate resulting in less aerated milk being poured in the coffee and more aerated milk being left behind in the pitcher. This makes latte art difficult and gives you an under-aerated beverage.
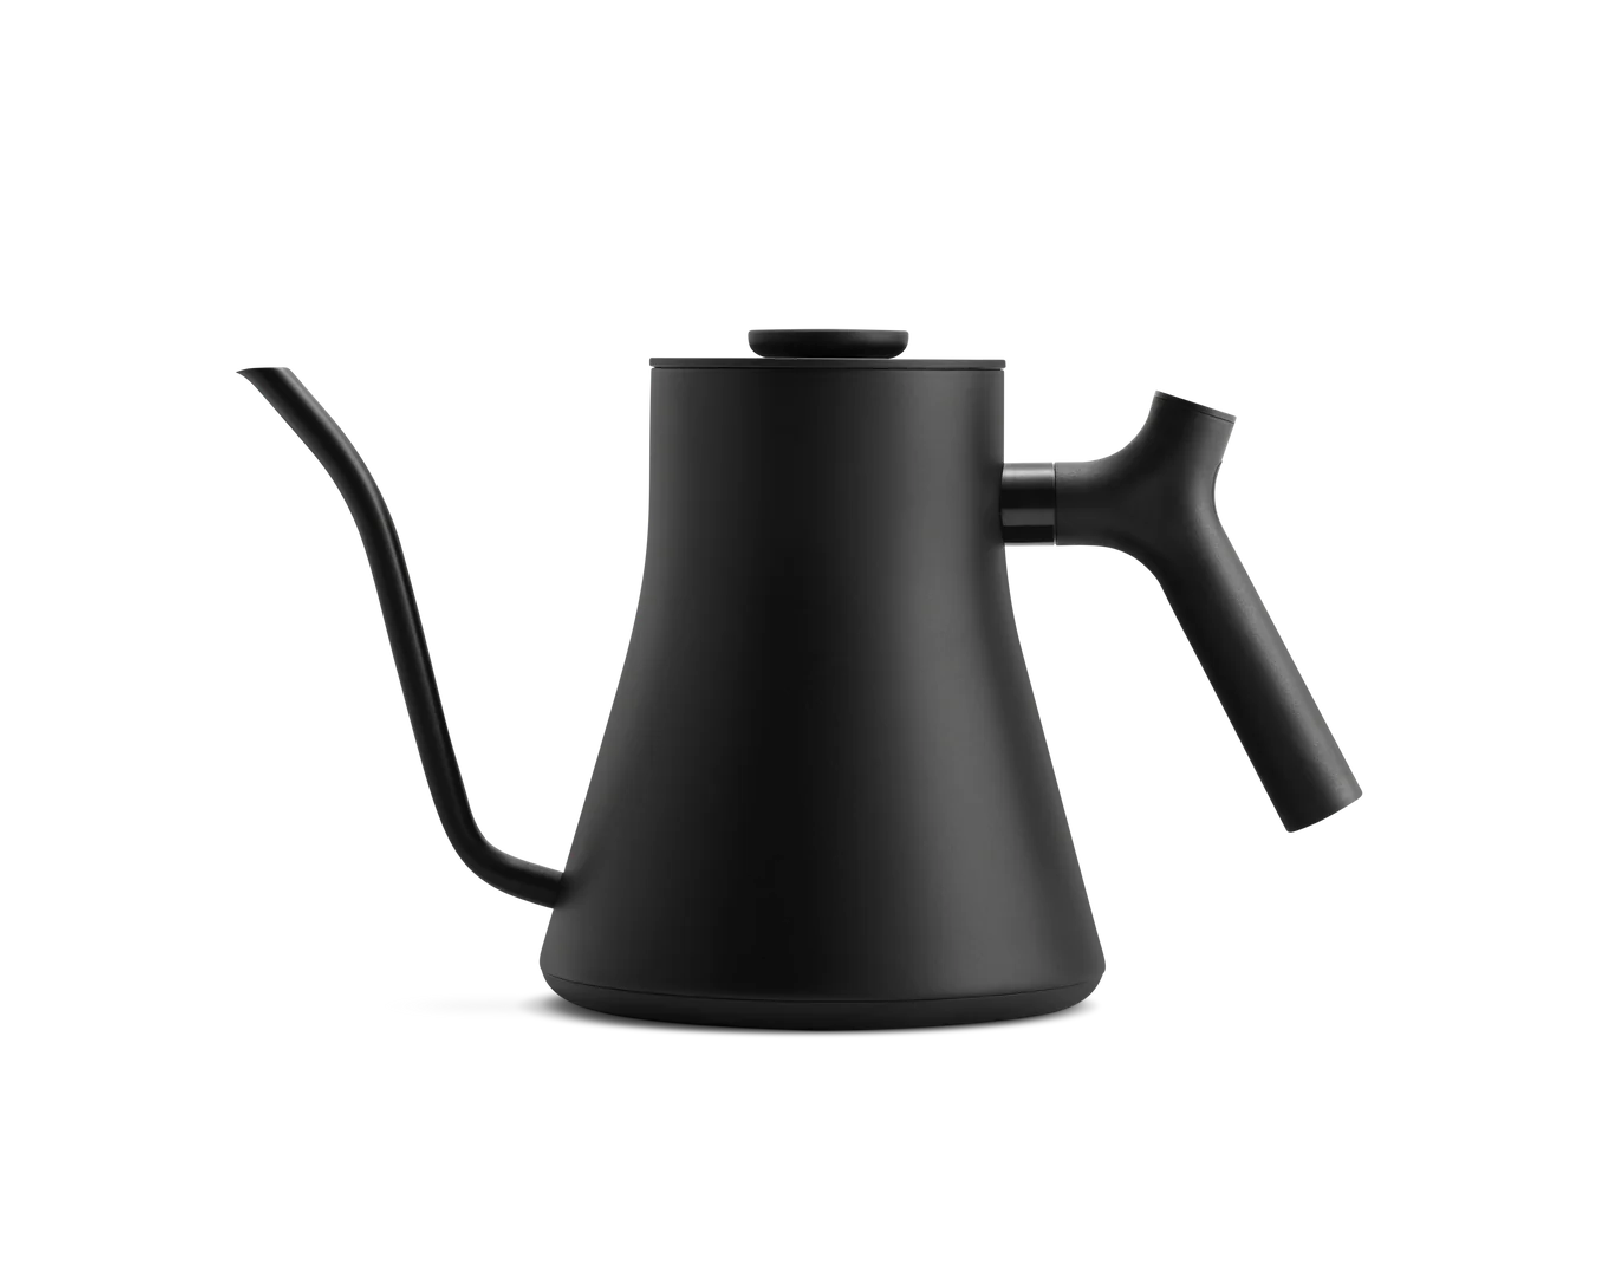
- Don’t move the pitcher too away from the surface of the cup. This causes the milk to dive into the crema rather than resting on top of the crema to form your art. Don’t move it too close to the pitcher either. This will cause the milk to skim the surface without creating any pattern. Shop milk pitchers here.
-
Practice a lot. You don’t need to necessarily practice on milk and espressos. Here’s the trick: for the milk, use plain water with a few drops of dishwasher. When you texture it, it behaves similar to how milk behaves when frothed. For the espresso, just use hot water with few drops of food colouring to create the contrast. You can now practice all day long!
Make sure to share a picture of your beautiful cup of joe and tag us at @beanburds on Instagram / @BeanBurds on Facebook.


